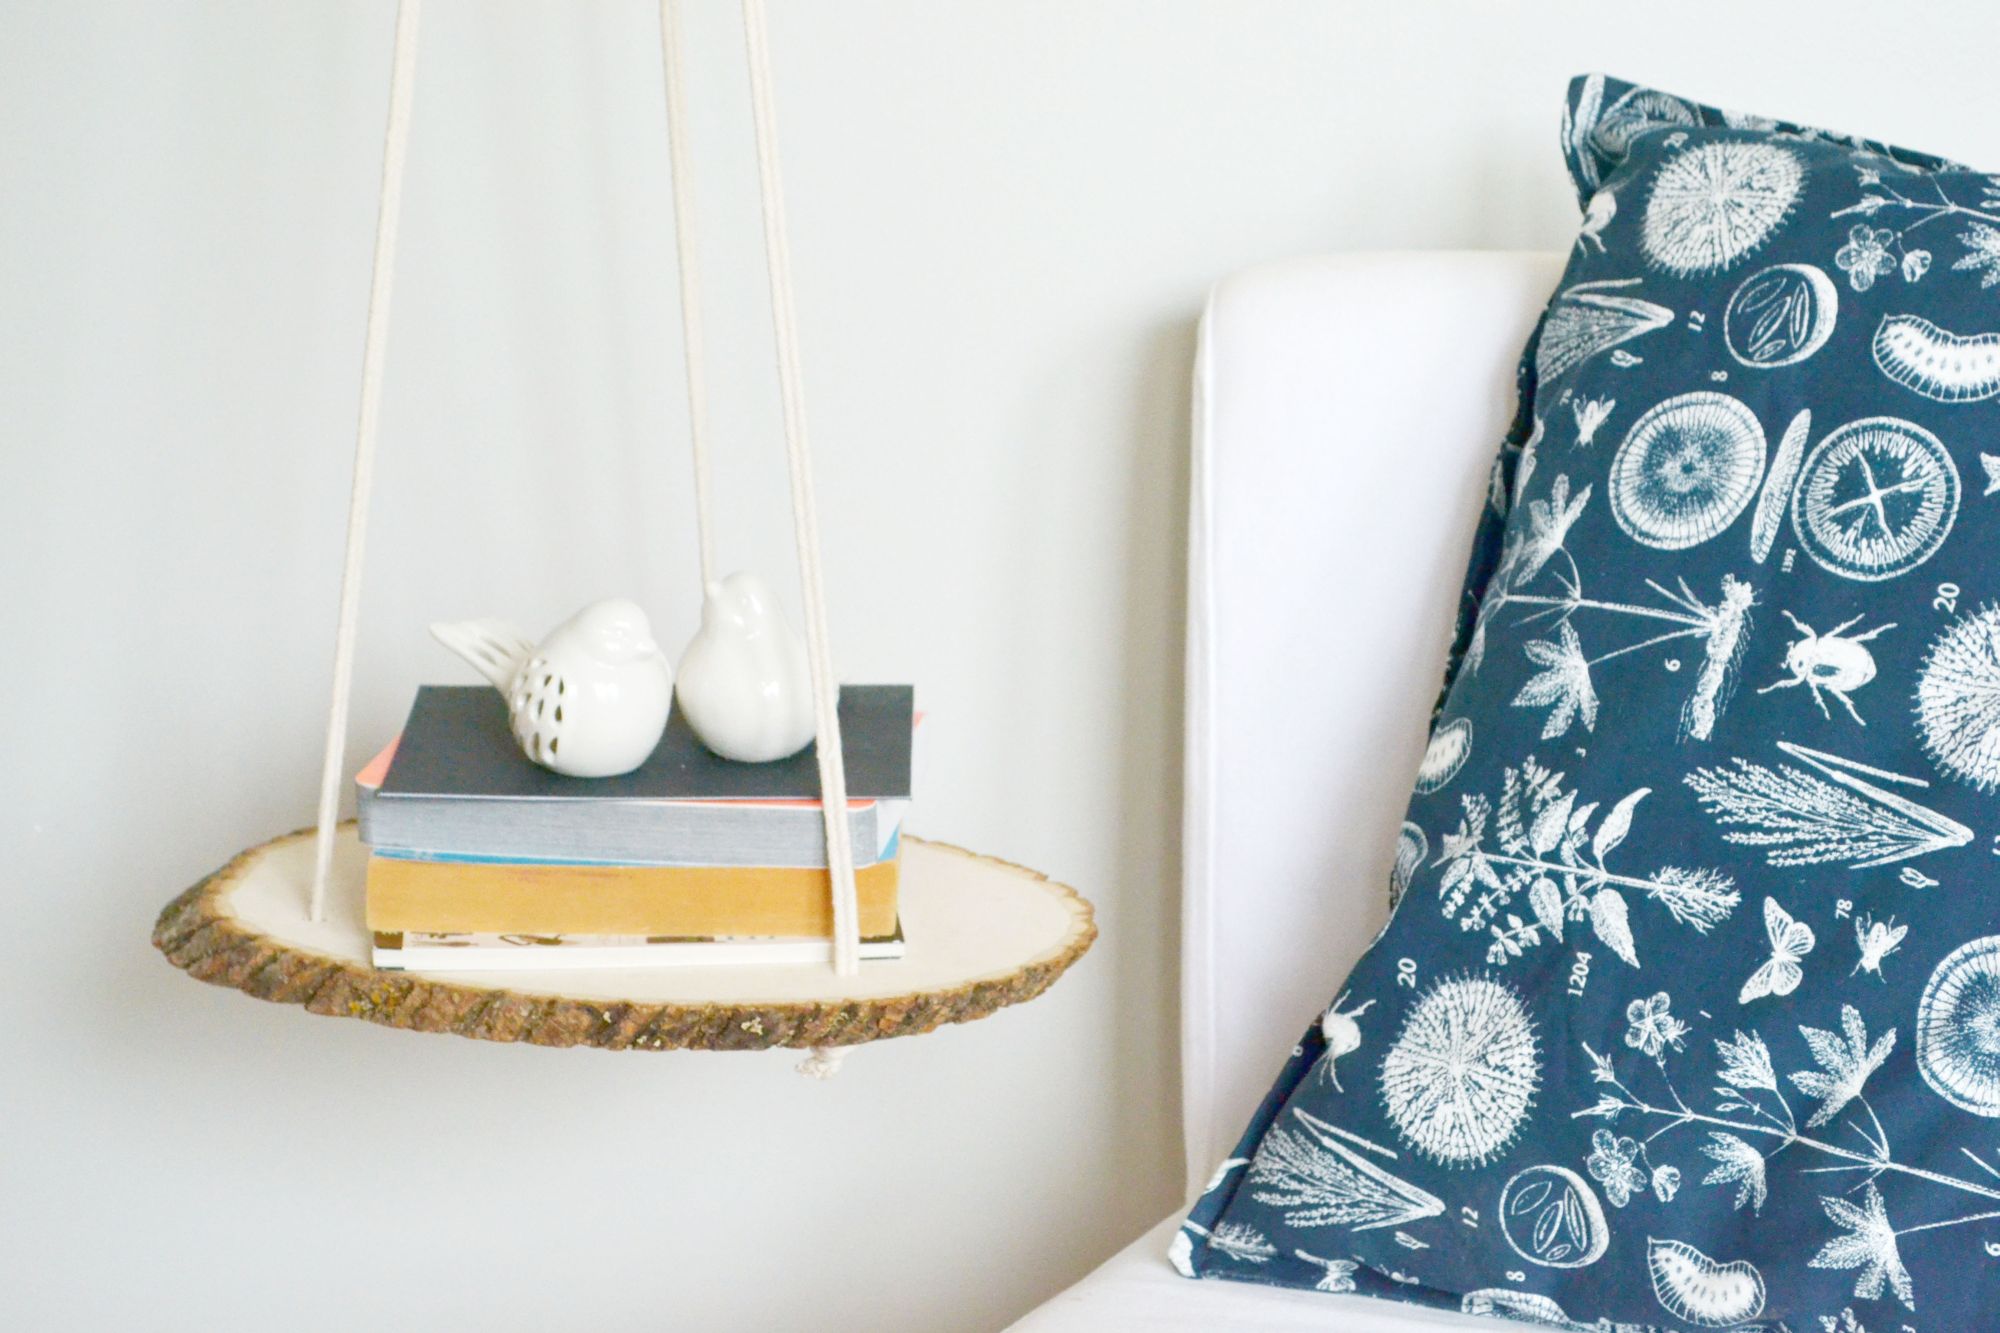
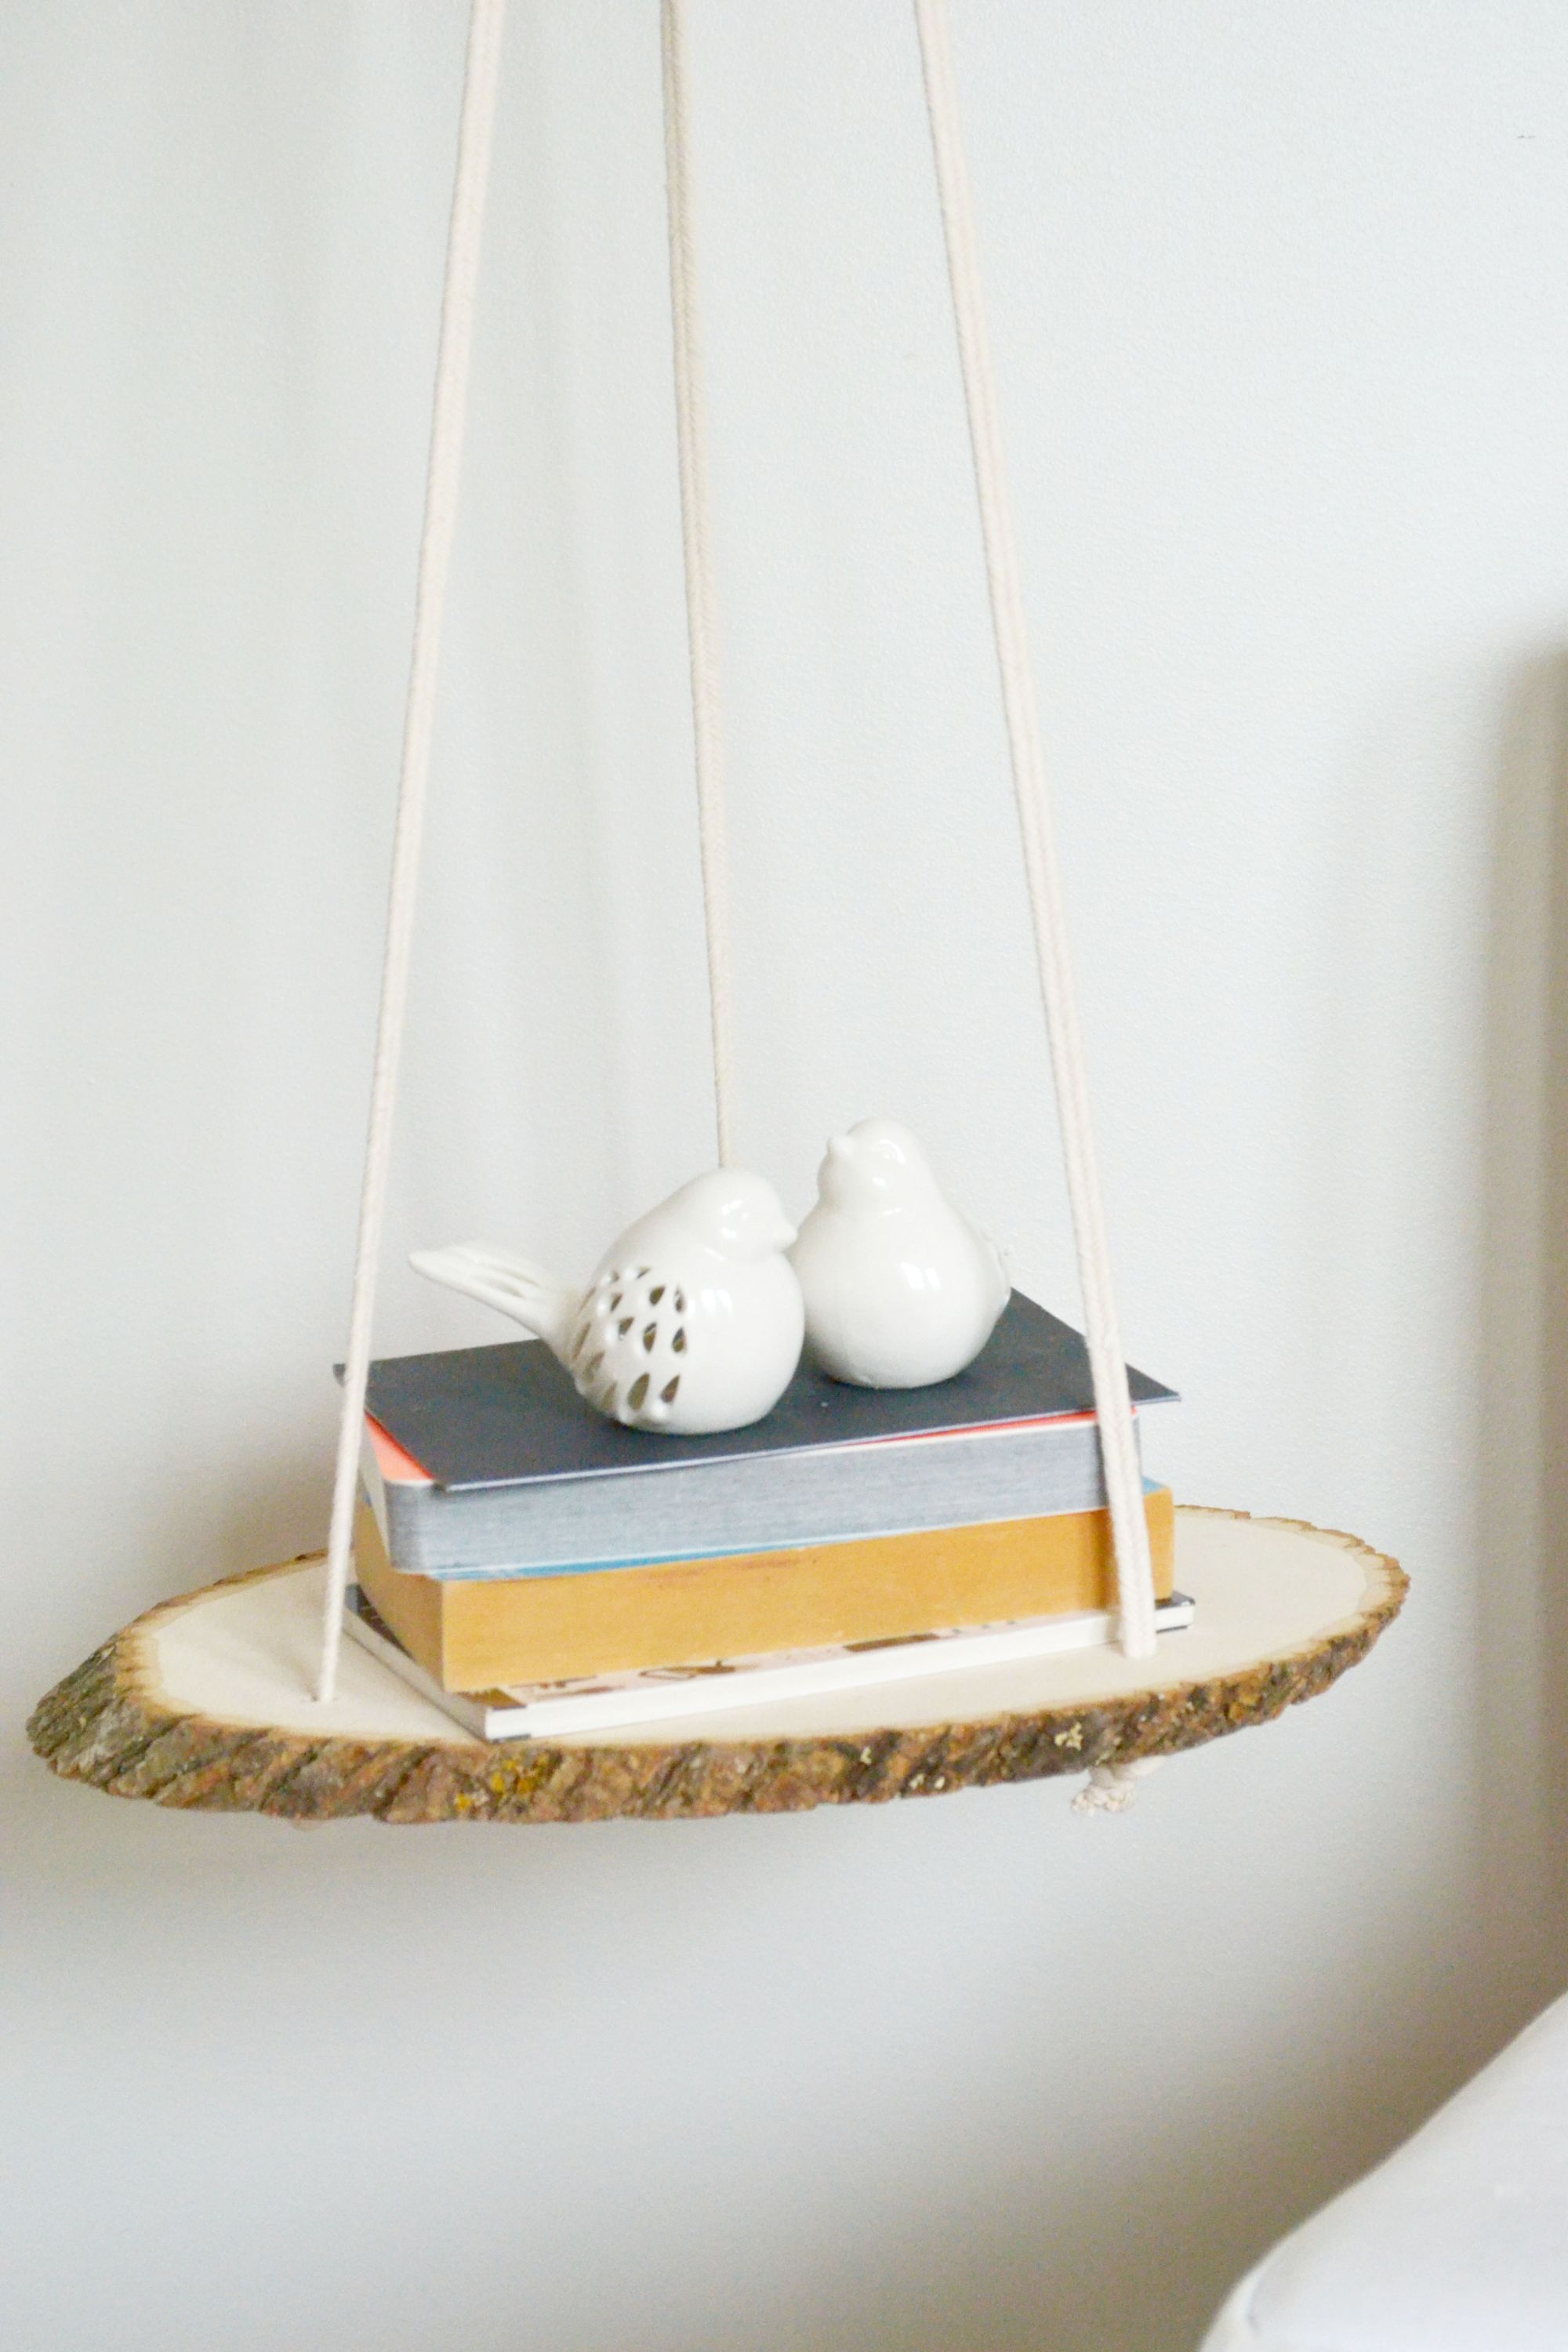
DIY Hanging Bedside Wood Shelf
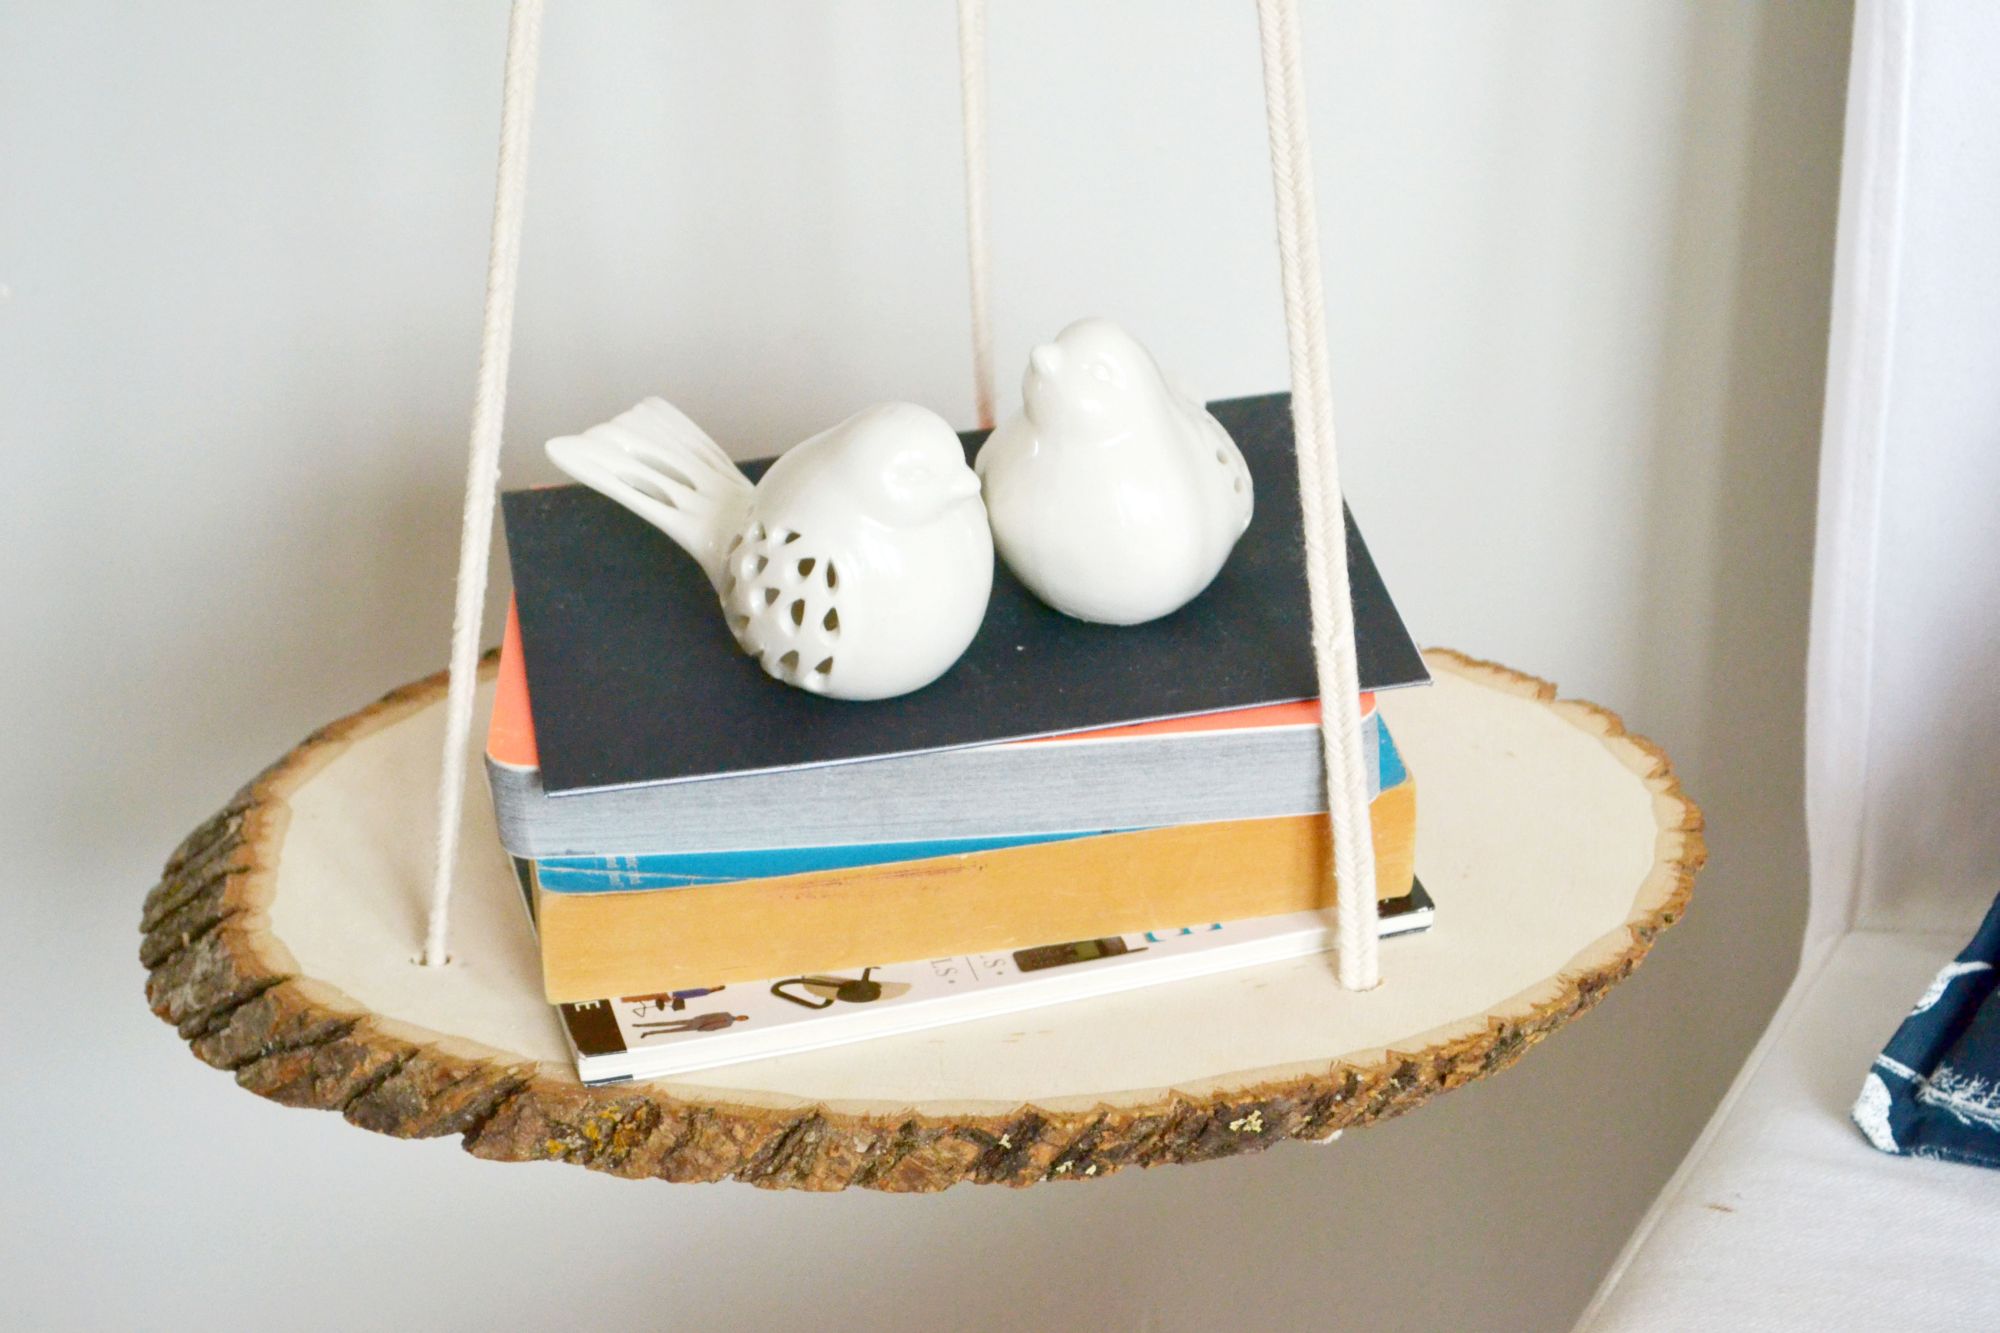
When you lot don't have a lot of fourth dimension or if you have a small budget, creating simple hanging shelves is a great alternative. Buying a tabular array or nightstand can be costly, so this is an inexpensive culling that tin can work well for renters or if you just moved in your house. Hanging shelves not simply add a rustic element to you dwelling décor, but you lot can besides move them to any space in the house also. This hanging shelf will provide a small ledge, every bit a side table for books and plants.
Y'all can purchase woods that'due south linear and more square or rectangular, or you can use more than of an abstract piece of wood. If y'all're looking for a larger slice, most hardware stores conduct larger pieces that tin can exist cut to the size you need. Proceed in heed the infinite that it'south going in. A smaller piece volition do well as a side shelf, night stand or side tabular array, and a larger slice volition probably do ameliorate equally hanging shelf in the kitchen for dishes.
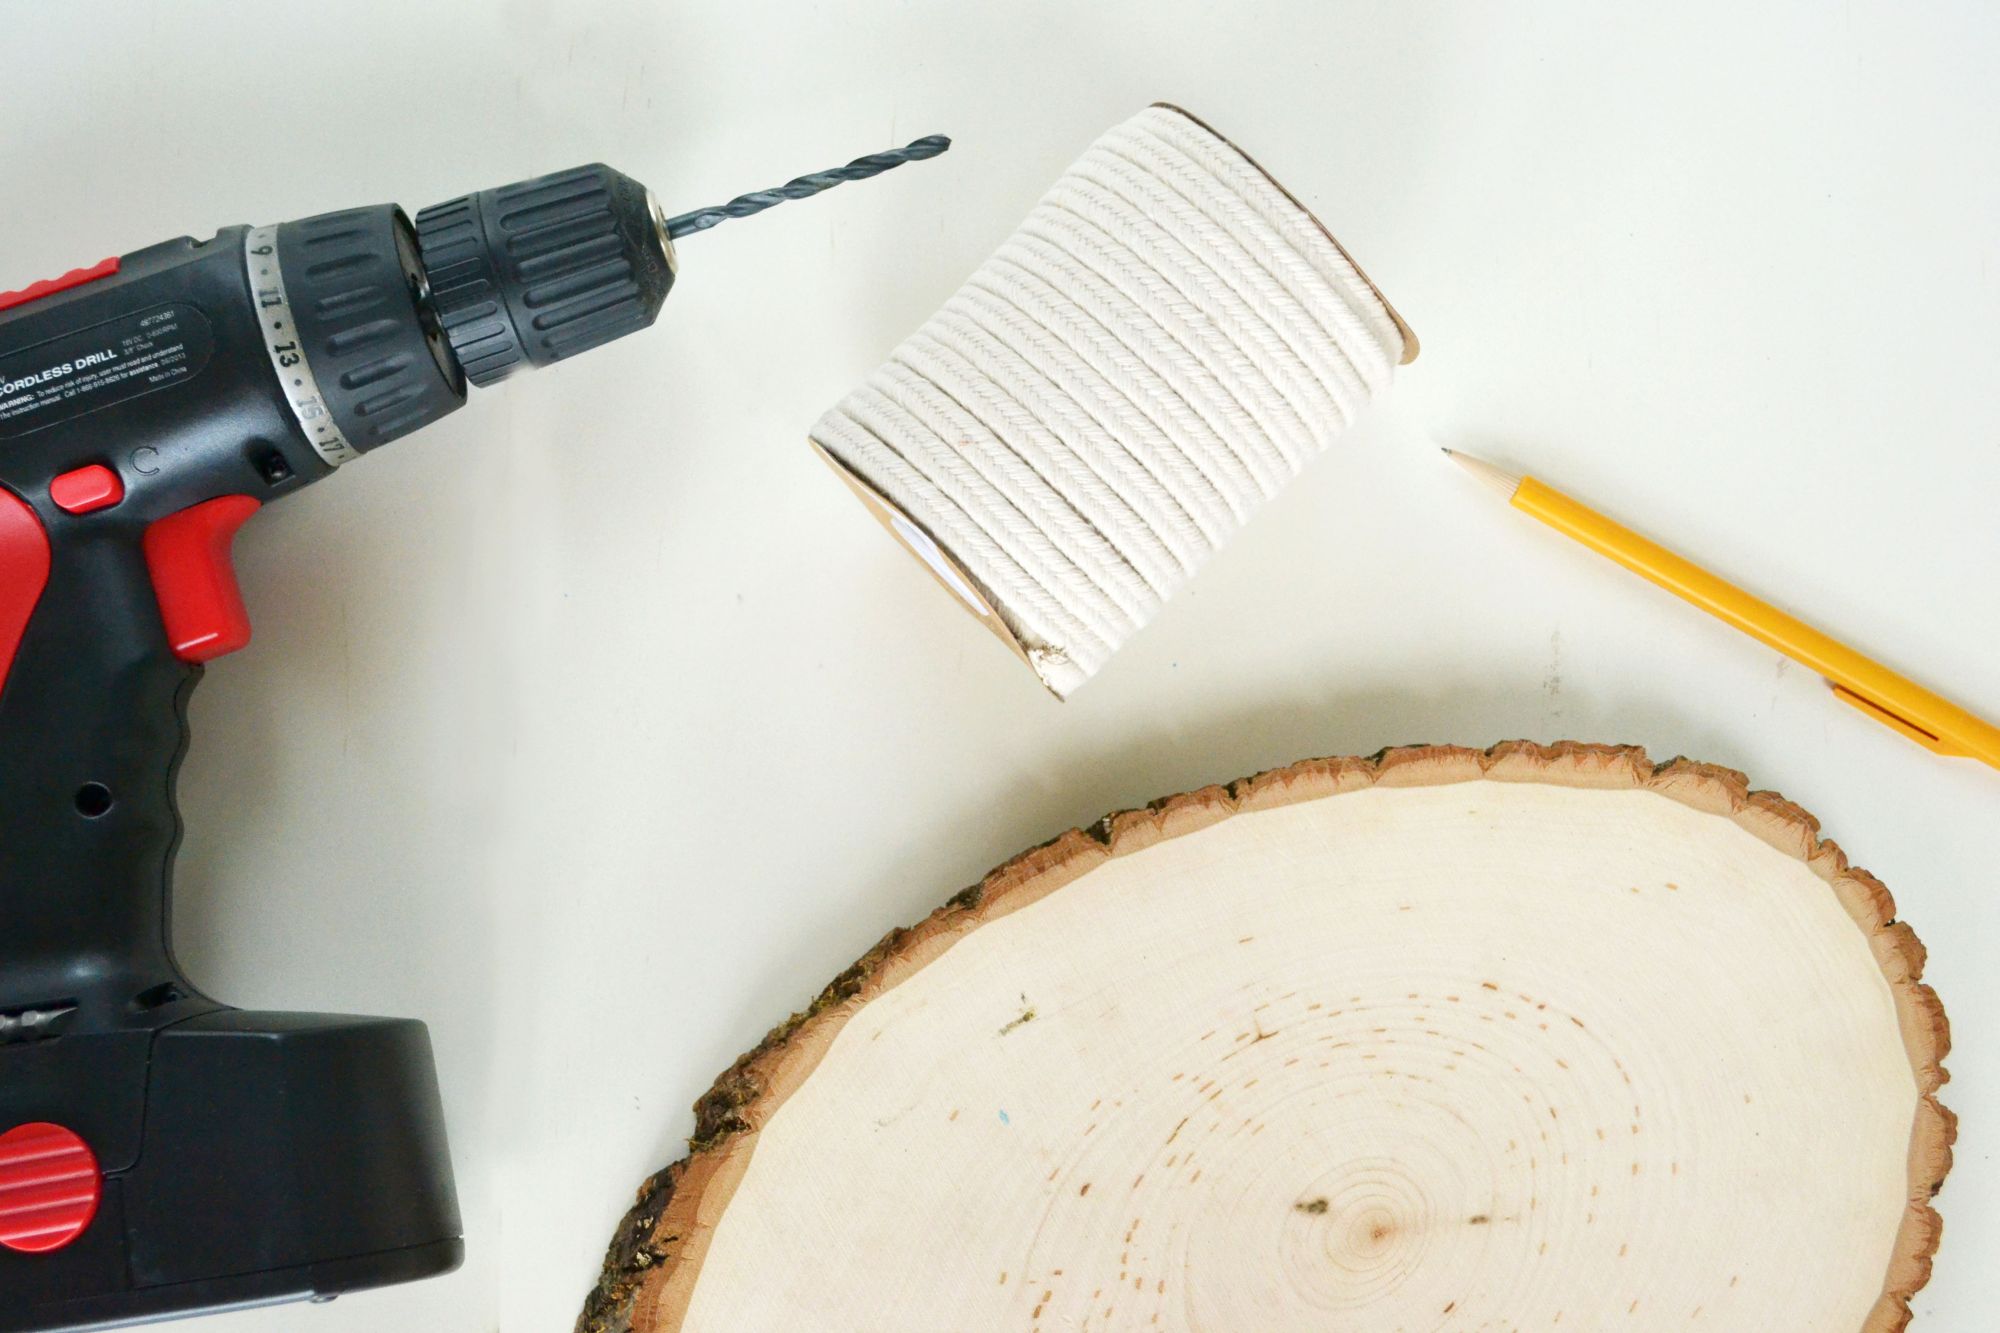
You will need: a board of wood, leather cord or rope. The thicker the shelf the thicker the rope you'll demand. If you desire your shelf to exist, for example, ½ to one" thick and 36" long, you may want to consider using a heavy duty rope instead of leather cord. The leather cord or thinner rope and a small wood slab should do well for a mini shelf. You'll also need a drill with the correct sized drill bit for the holes (I used i/4 for this shelf) and claw to hang the finished product. The drill bit used should exist slightly thicker than the rope used. If you want to stain the wood, you'll demand a pair of gloves, a fabric and forest stain. You lot can also pigment the wood to lucifer your décor.
If staining, stain the boards earlier drilling, using your preferred stain and then wipe it off with an quondam rag. Use the gloves to proceed your easily stain-free. If painting, brand certain the paint dries earlier drilling the holes. This will ensure that no sawdust ruins the paint.
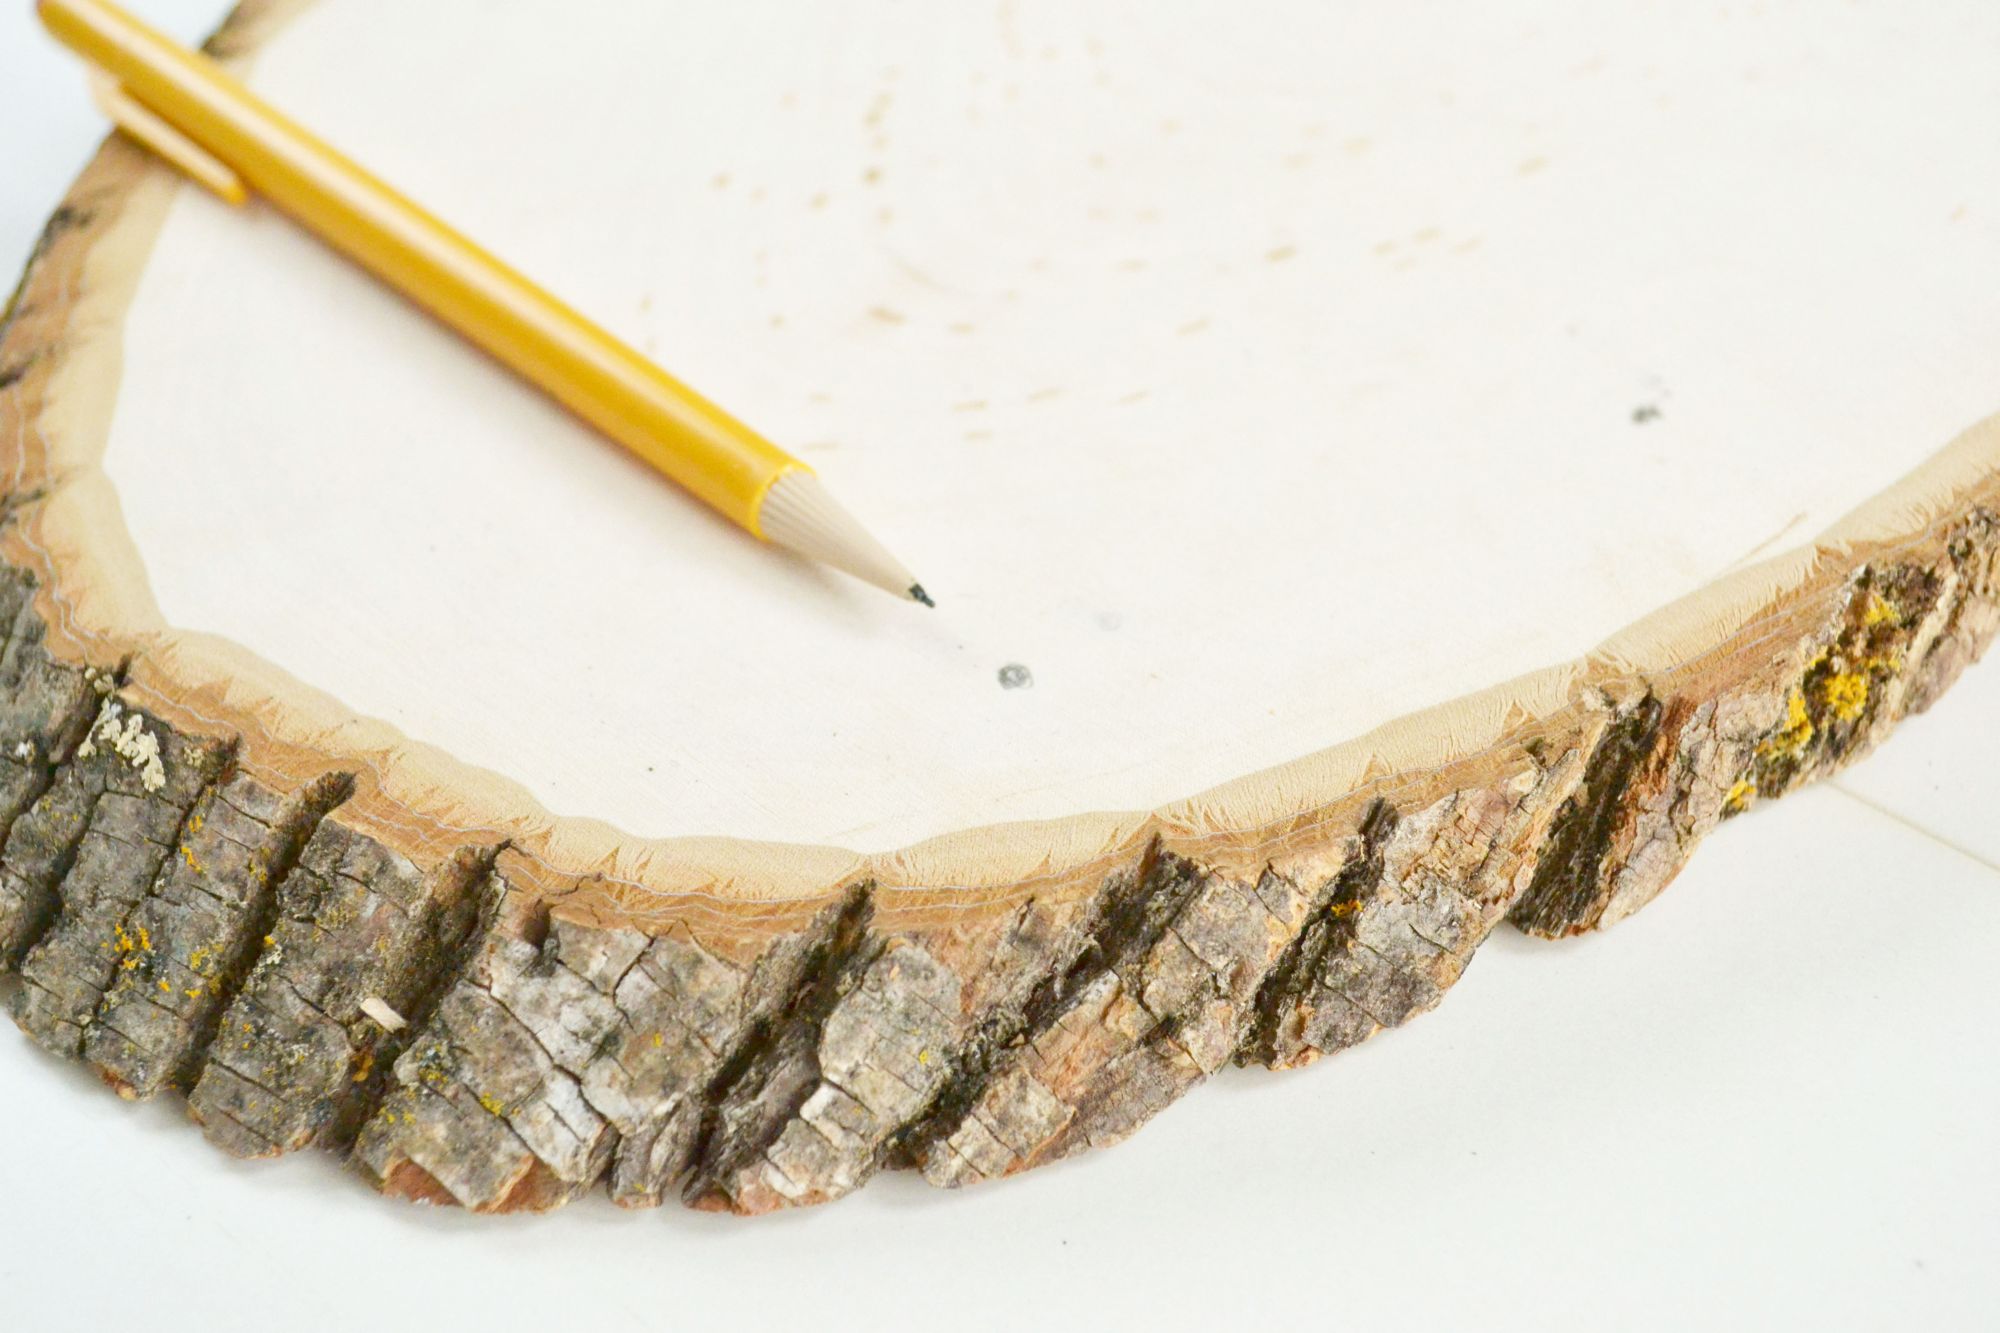
Offset, marking your holes with a pencil so that they're evenly spaced apart. I've marked mine about six-7 inches apart from each other.
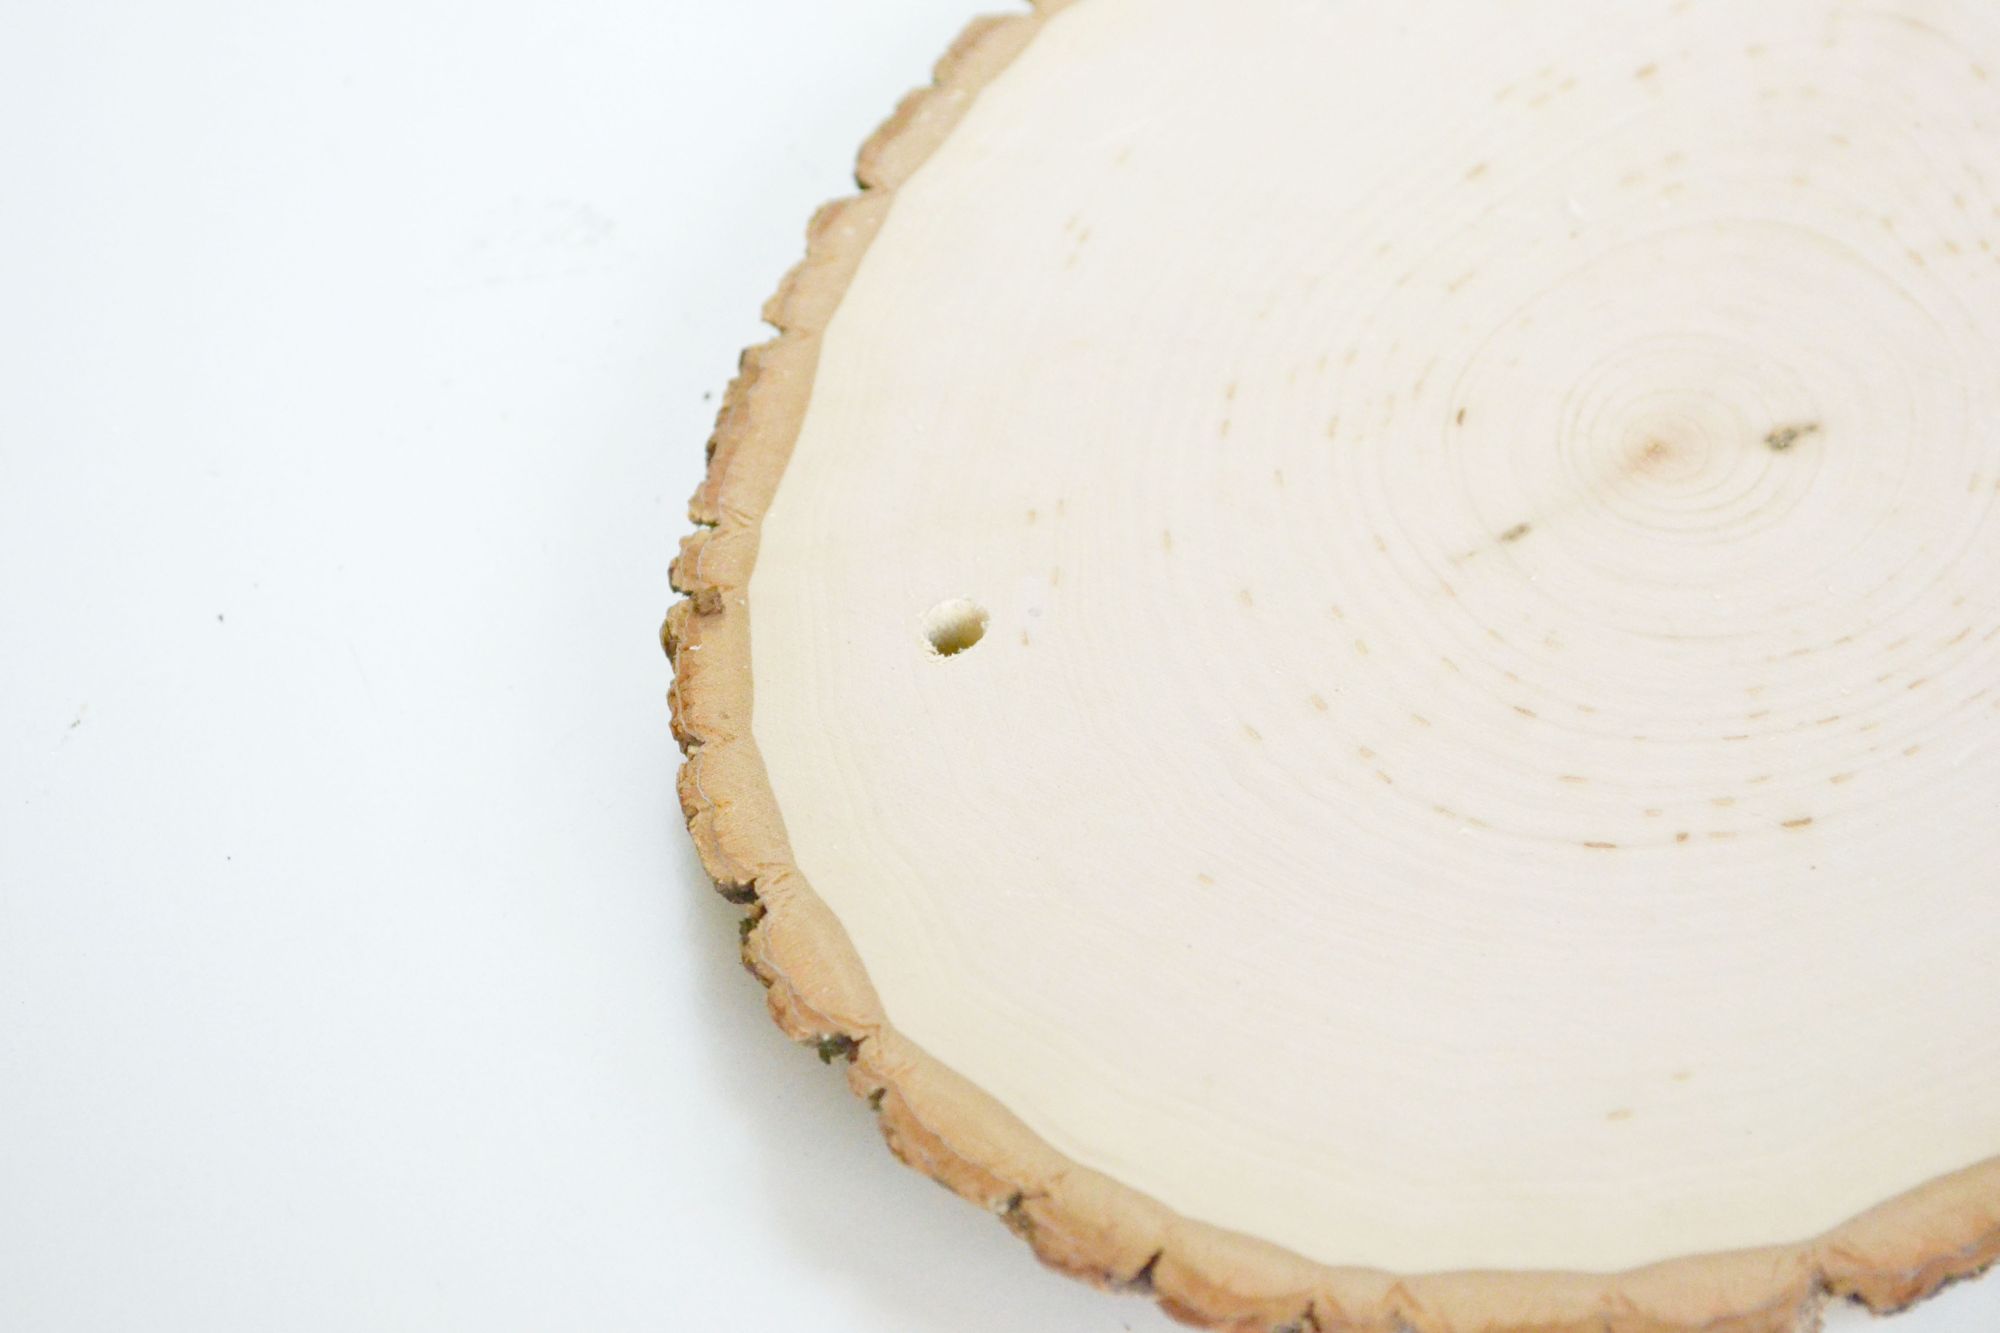
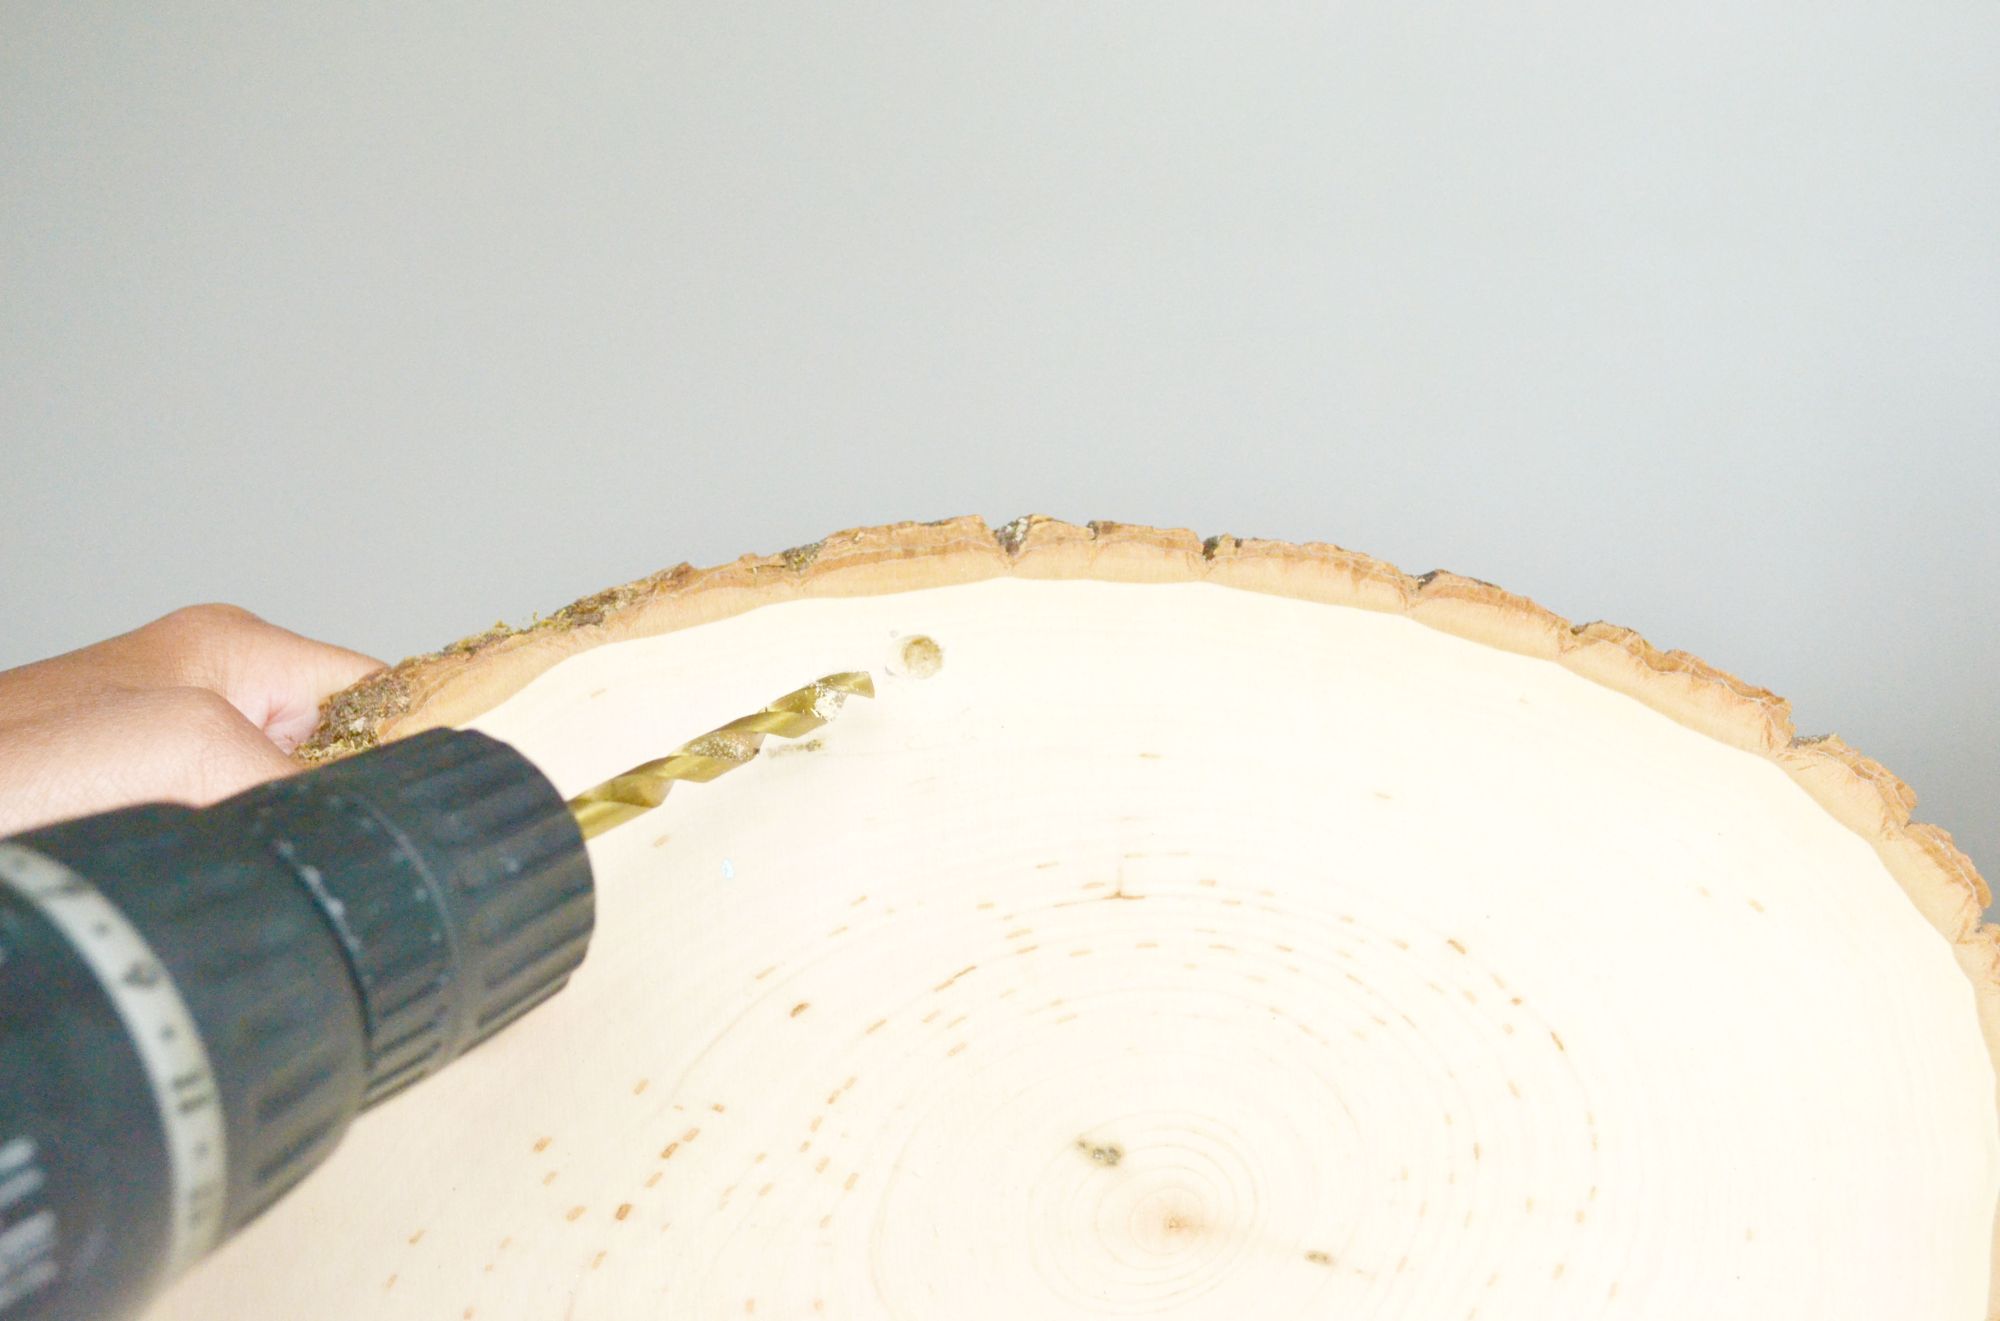
I recommend drilling three to iv holes in the forest for the rope- 3 holes for a small shelf and four holes for a larger one. With a pencil, mark the dot on the shelf where each of the three holes will be drilled. For a mini shelf, drill the holes with a 1/4 drill chip, evenly spaced apart.
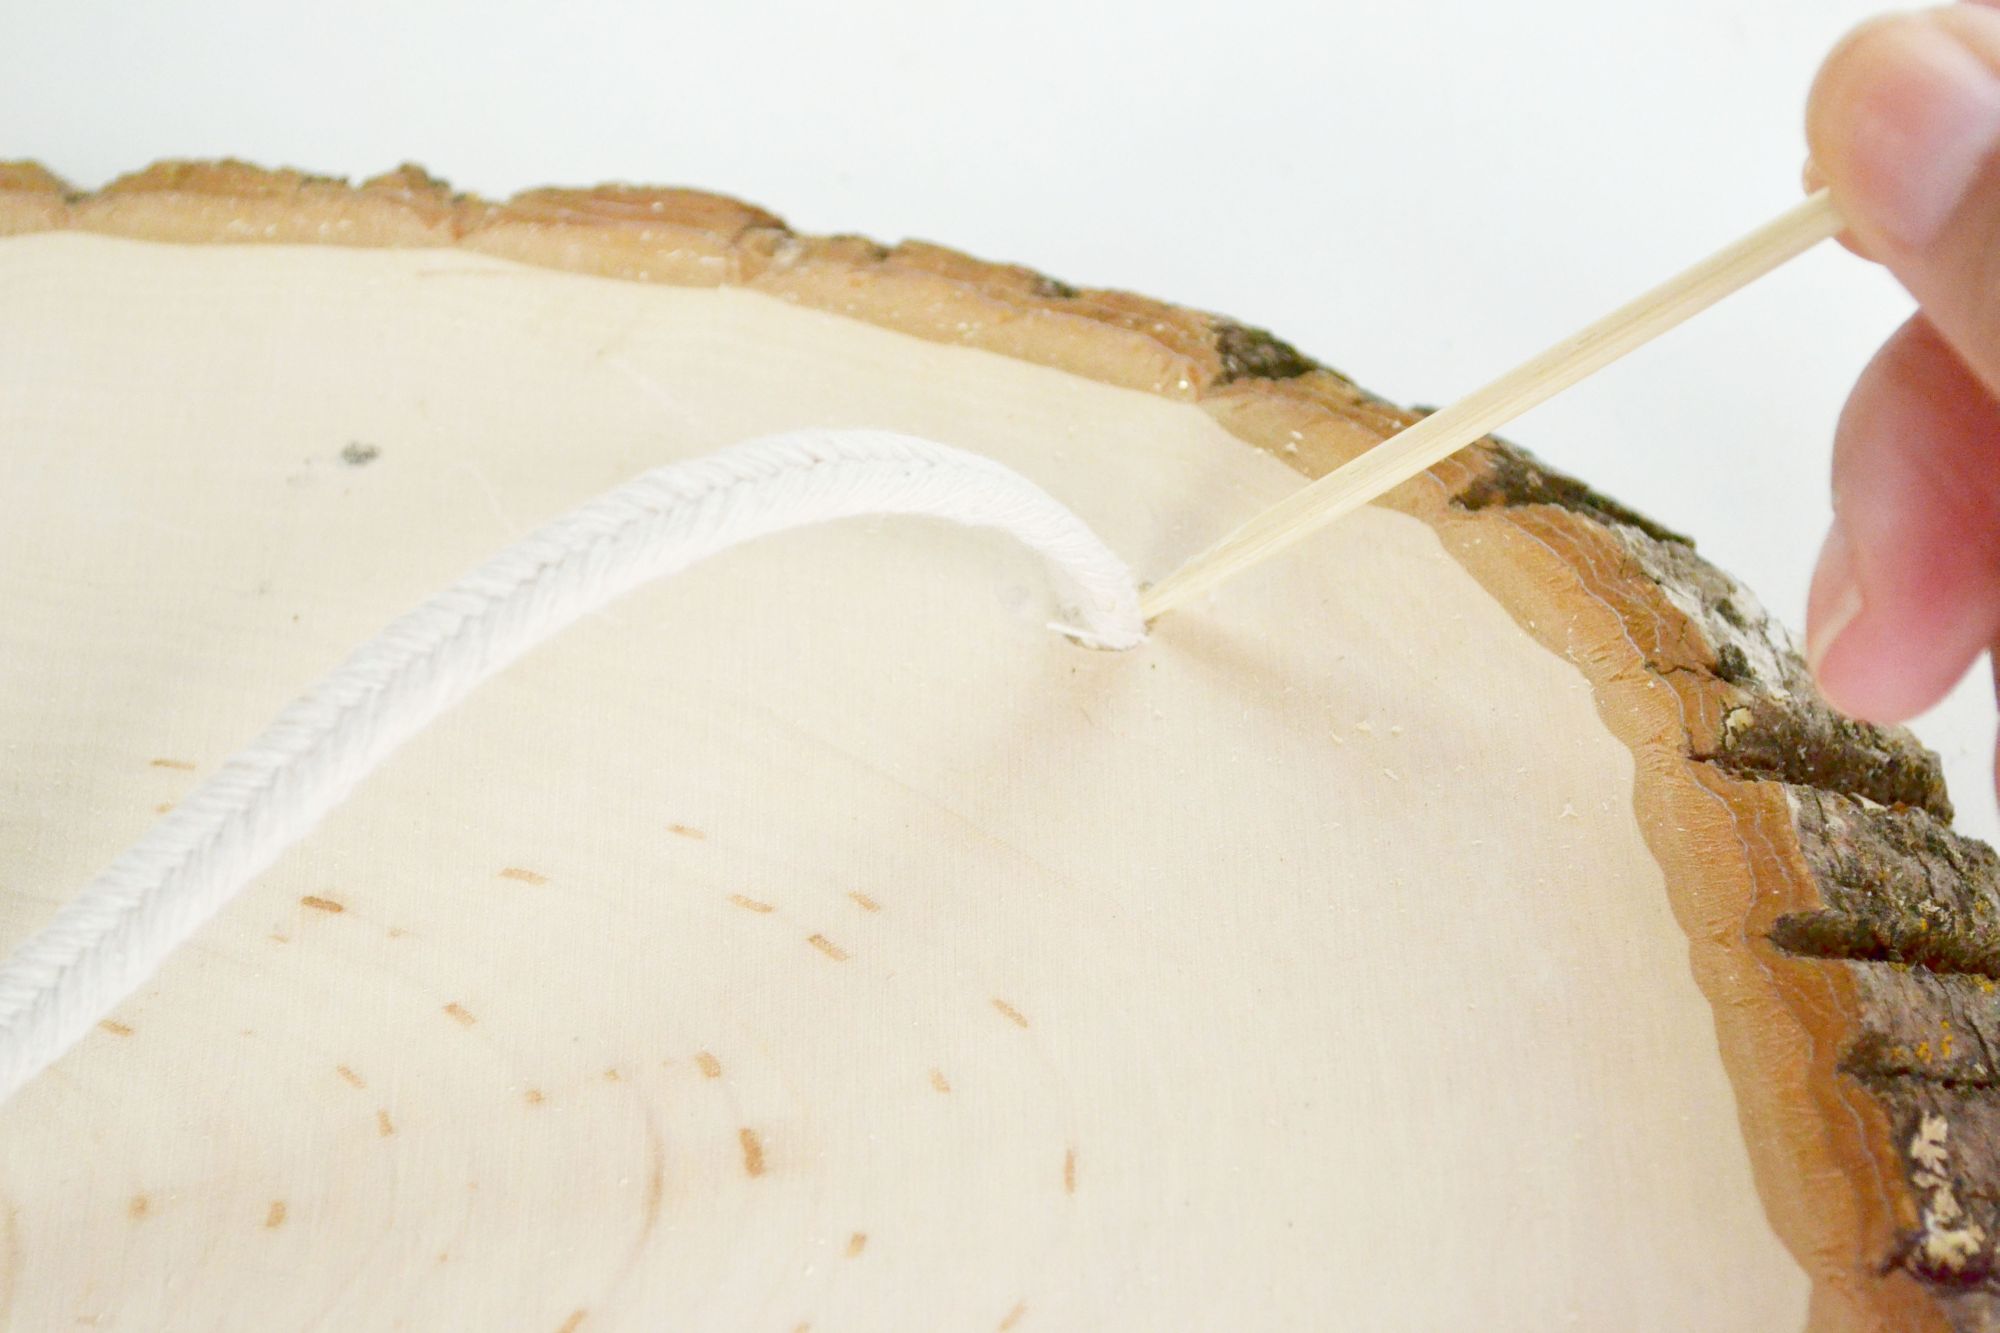
Cut three equal pieces of rope or cord for the shelf. Thread the rope through the pre-drilled holes and make a knot at the finish. Apply a bamboo skewer or thin pencil to help thread the rope through the hole.
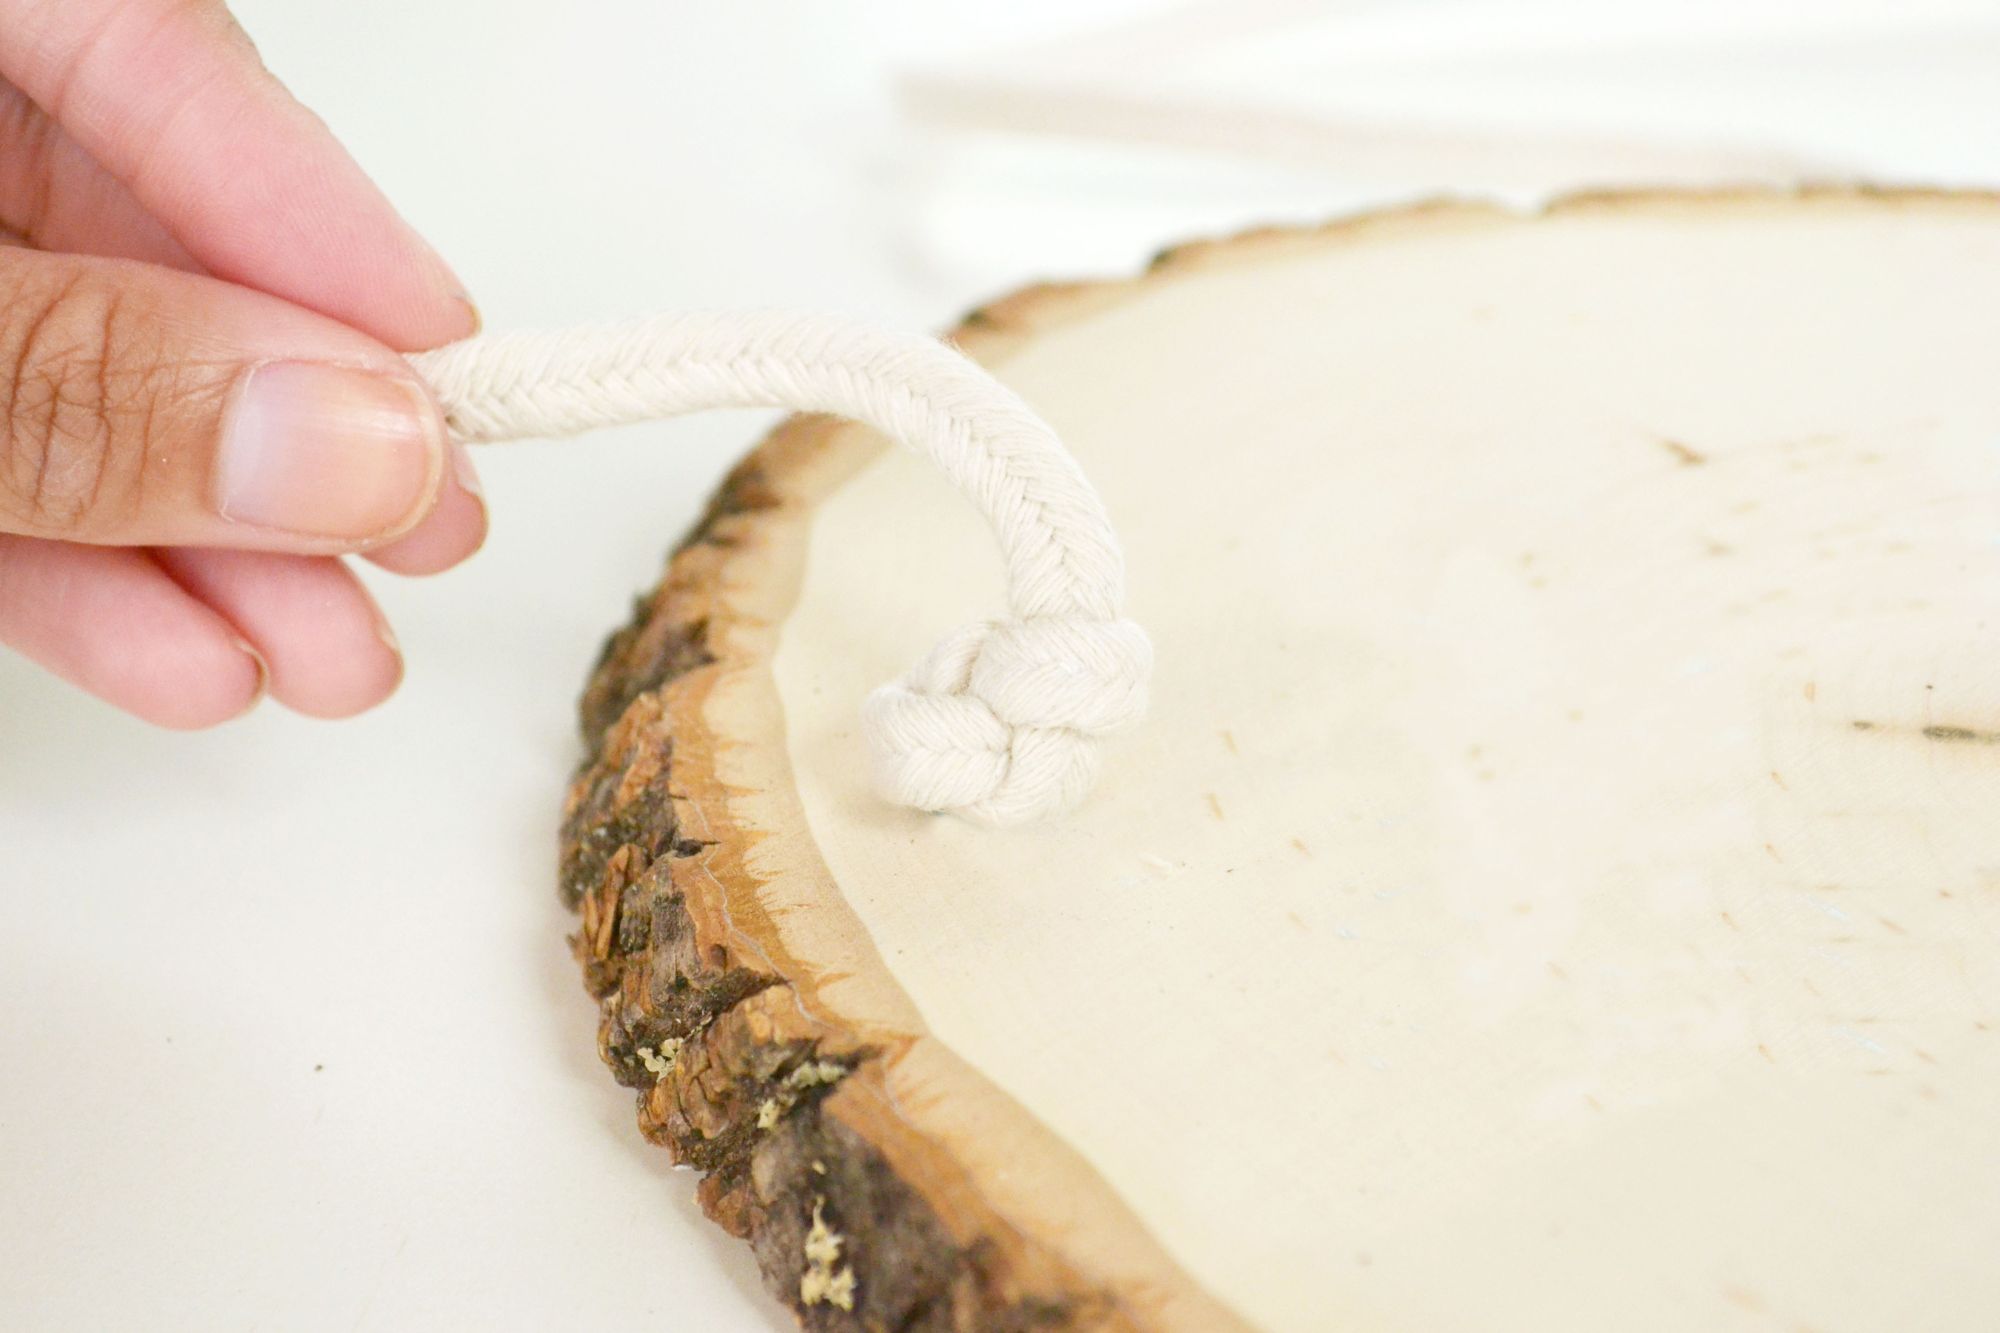
Make certain that the knot tied is secure and potent enough to concur the weight of the shelf with objects on it. Cord the cord through again if information technology needs extra support or make a double knot to ensure it won't slip through!
Measure how long you desire the shelf to hang and make sure the shelf is level before it's tied off. Hang the shelf using wall hooks. You can use command strips or screw hooks for the wall or ceiling. Hang this shelf in any room in the house to give it a bit of rustic flair!
Source: https://www.diys.com/hanging-bedside-wood-shelf/
0 Response to "DIY Hanging Bedside Wood Shelf"
Post a Comment